Oman Jebel Misht French Pillar (13.11.2013)
One week before we“ve climbed Hotel California in Wadi Daykah. The ambient Temperature was around 35°C and the dark south faced limestone was heated up to temperatures above 60°C. After those 6 pitches our feet were swollen, the fingers burnt, we were dizzy due to heat stroke, and we were happy that this agony was over. We couldn“t imagine to climb one more pitch under those circumstances.On that day we“ve buried the idea, of climbing the 1000m south face of jebel misht during our two week oman trip.
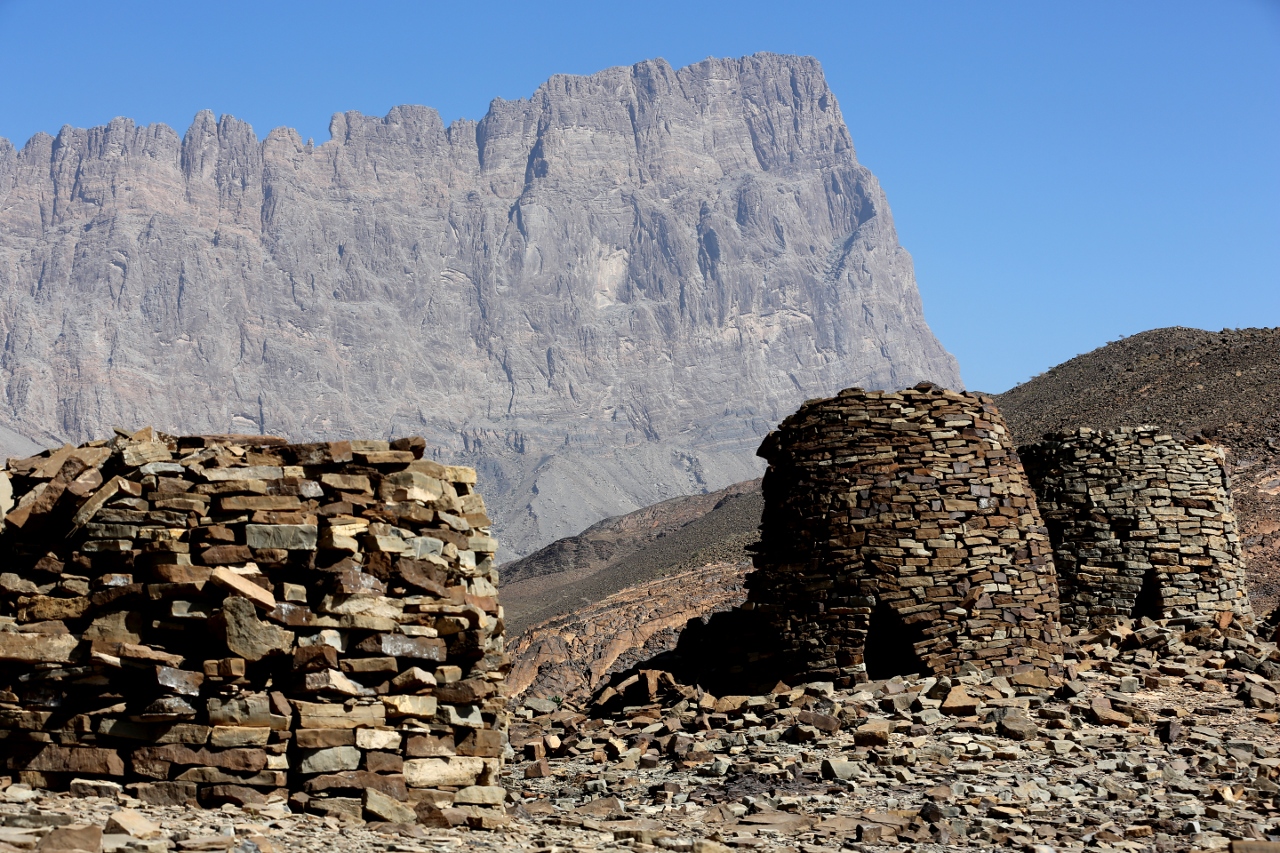 Jebel Misht with beehive tombs of Al Ayn |
Luckily we“ve spent some time in la gorgette in Wadi Bani Awf. One day, we decided to drive to Nizwa, to do some sightseeing and replenish our food supplies. So we drove via Sharfat al Alamayn, a 2000m pass in the hajar mountains. The temperature at 9 o“clock in the morning was 15°C. All of a sudden the french pillar of Jebel Misht was back in the game.
We used the climbing guide by Toby Foord-Kelcey [1], which is excellent. We came half a day in advance and tried to drive to the coordinates mentioned in the guide, but the track was blocked by a lot of lose rubble 500 meter before the mentioned coordinates. So we built our camp under some trees at 23.238189°N 56.996896E and went to inspect the approach.
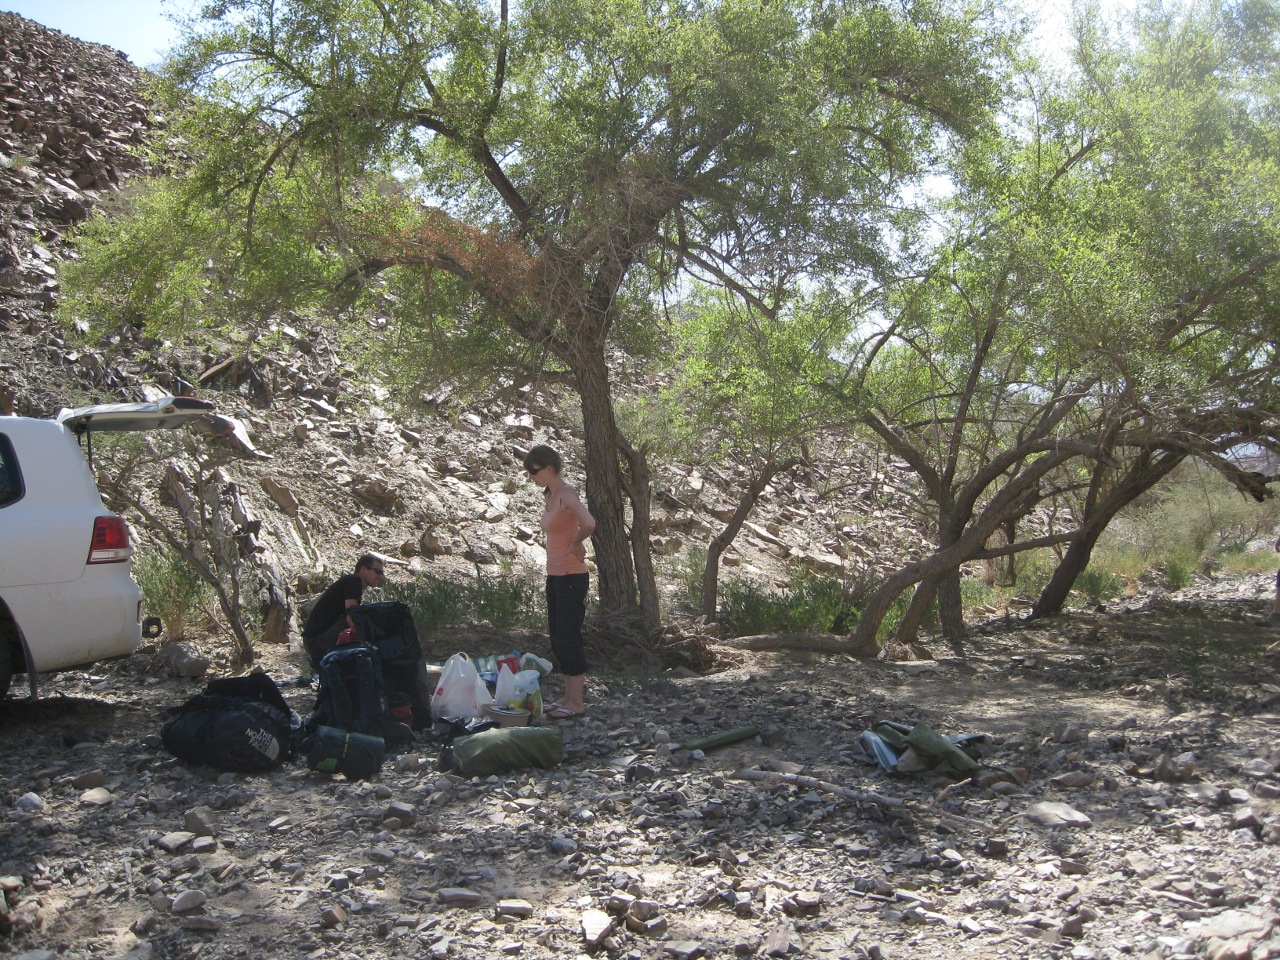 Our camp site |
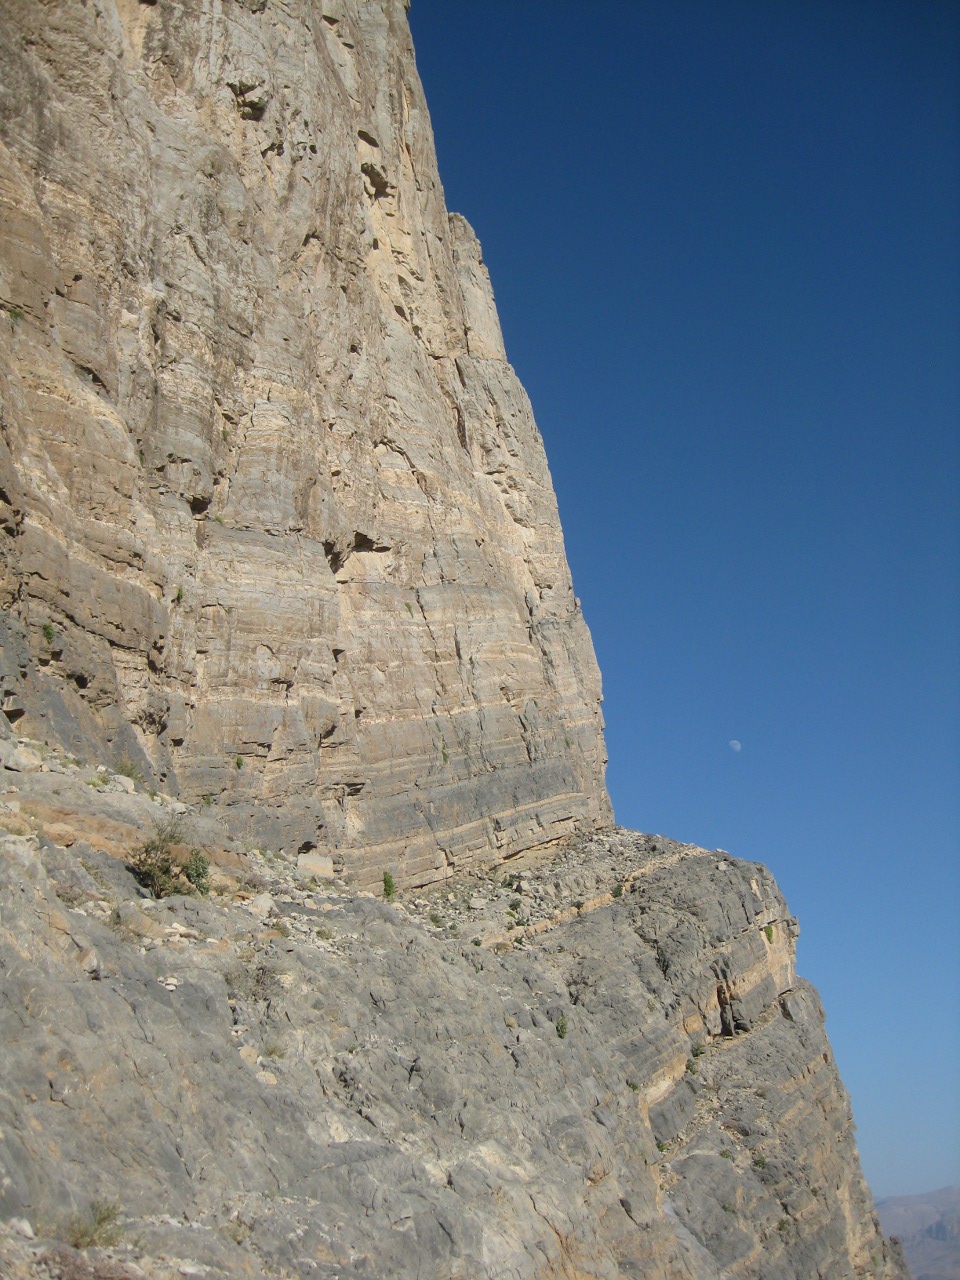 500m starting ledge |
 Those guys visited our camp site |
There are a lot of cairns, we built some more, but you should still check out the approach during daylight. Otherwise you might find yourself at the end of the wadi surrounded by vertical rock (we“ve tried that one). What we didn“t check out was the descent. It“s a mixture of sharp rock, loose rock, and of course thorns. Well the descent is not live threatening, but unfortunately there is a real chance to break your ankle in this ugly terrain. While the descent is no fun at all, finding some way down is not a problem. Just try to stay on one of those ridges and do not cross the wadis.
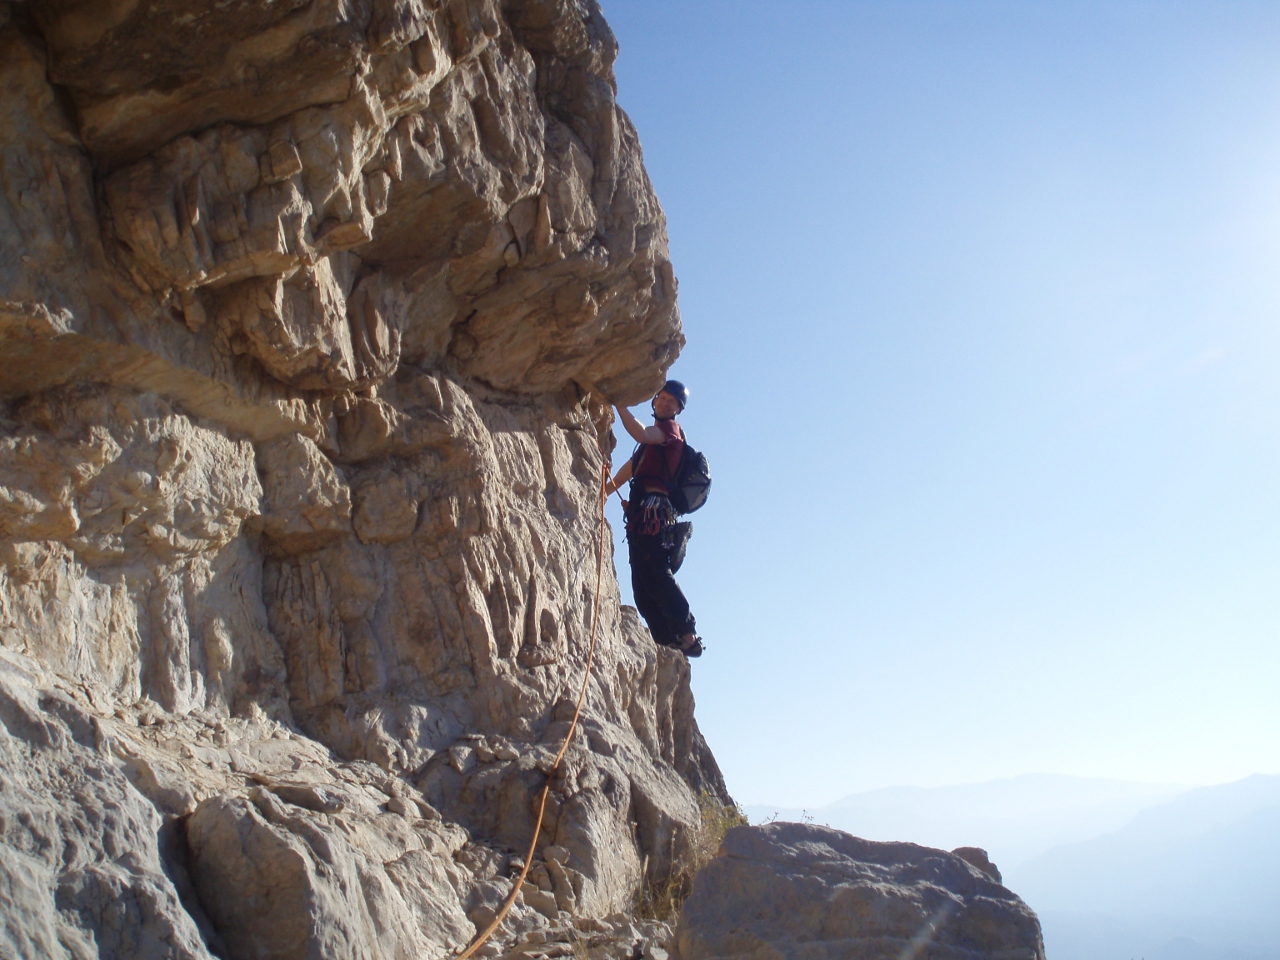
On the next day we started at 4 o“clock in the morning, which was a little too early, since we arrived at the start of the route at 5:30. There was enough light to start climbing at 6 o“clock. The first pitch is a cold start, everything looks a little loose and the first piton is after 50m of climbing. But after the first pitch the rock gets much better.
 Traverse of pitch 1 |
 Fabi at the end of pitch 1 |
To be onest, I was a little worried about the second pitch. I was expecting a steeper slab, with very poor protection and few or none places to add pro. But in reality I was really enjoying this pitch. The rock was solid. Yes, there are some "interesting" flakes that can make hollow sounds, but they are obvious. The existing pro is not perfect, but there are some Petzl 8mm bolts, which seemed to be A2 stainless steel after all. Additional there is plenty of room for mobile protection. The third pitch is obvious, only one move at the traverse rated with UIAA 5 the rest is easy.
 Fabi at the end of pitch 2 |
 Traverse of pitch 3 |
For the fourth section we changed to approach shoes, sorted our gear and started to simul-climb. The route is obvious, the rock solid, and you can gain ground very fast here. Approximately 70m after the food stash, the ridge gets steeper and a little more serious to climb, so we started belaying again.
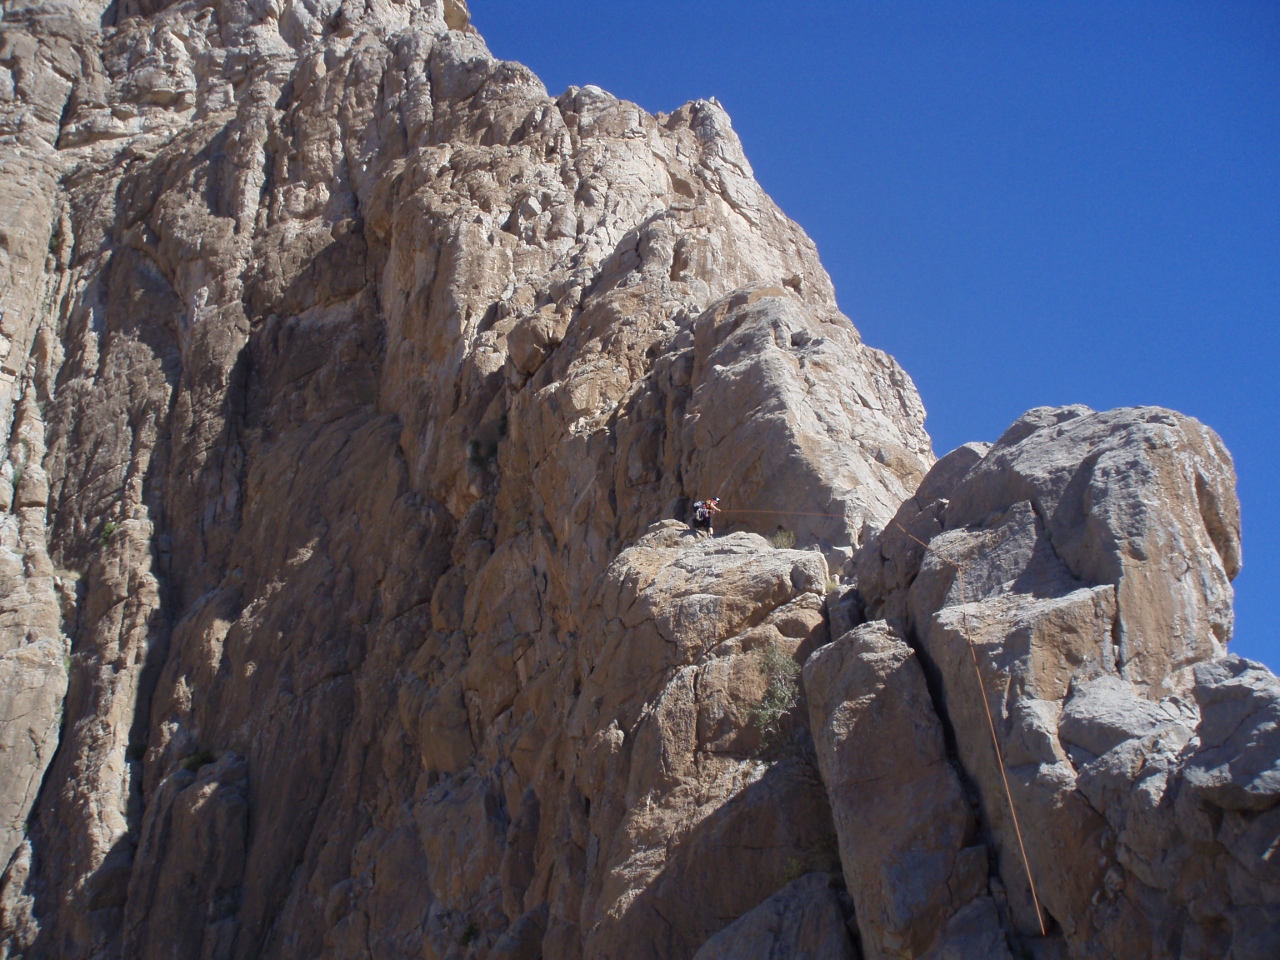 Ridge of section 5 |
 Fabi at the end of section 5 |
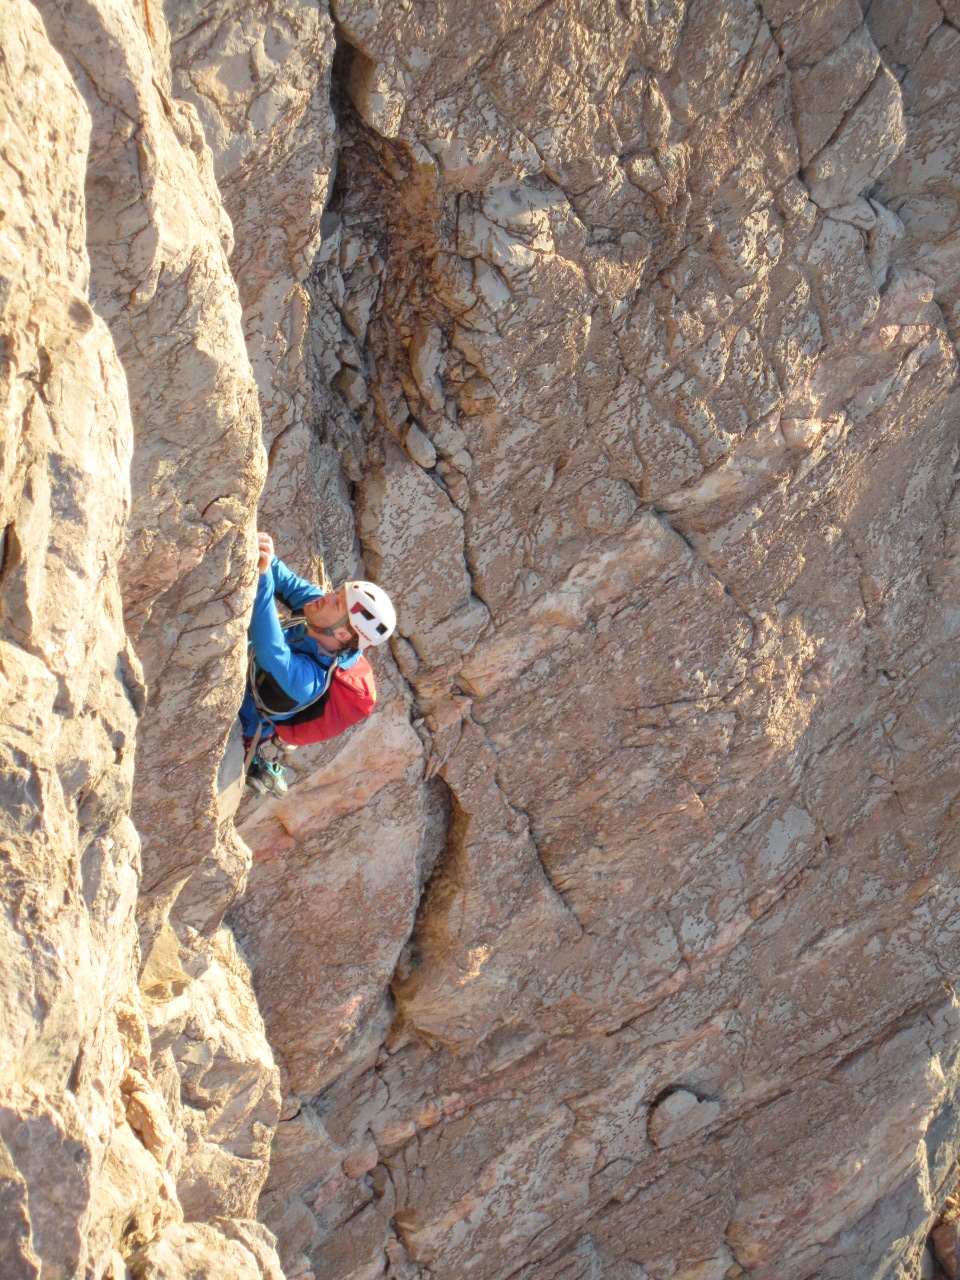
You cann“t miss the ledge of section 6. Depending on where you start traversing the Make love not war crack / chimney is after 50m. But we were unable to see the complete headwall. After another 50m, there is a small crack corner system wich leads to a small pinnacle/gendarm. From here the headwall and the two deep chimneys are visible. From the end of the ledge (section 6) to the left hand of the two deep chimneys (end of section 7) it took us 170m of climbing. There is no way, you will make it with 70m as described in the guide. The pitch 8 is again nice climbing, it starts with a short corner, than you walk on a ledge towards the make love not war crack. Before you reach the highest point of the ledge a crackline starts. The first few meters of the crack are hard, the rest of the pitch is still steep but easier (I would say 6+). There is not a single piton or bolt, but whenever you want you will find some place for protection. We had 14 Cams with us, 3 Cams were left at the stance of my partner, 10 Cams I needed for this 8th pitch. So I was left on link cam and some webbing, hoping to build a stance. I was so happy when I saw a 10mm bolt at the end of pitch 8.
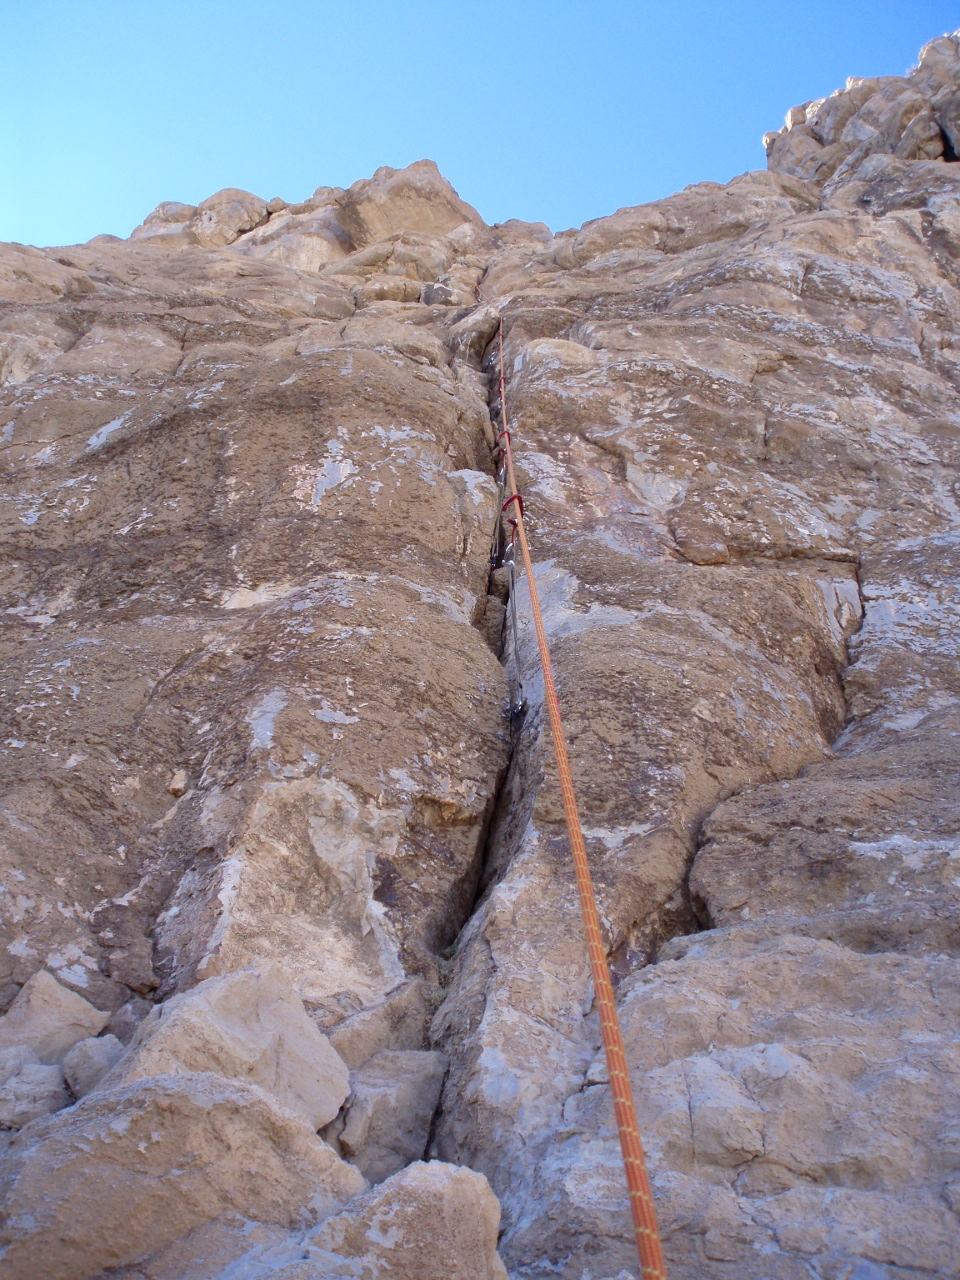 Crack of pitch 8 |
At this bolt we were a little bit lost. We were looking for good and easy way up, for round about 15min. This was the only time the guide [1] left us hanging. From the bolt you can see one yellow corner above you, the rock is loose and there is no place for pro, we“ve tried this one. Few meters to the left, you can see a yellow hanging crack that has nothing to do with climbing F6a, tried that one too. From the stance at the 10mm bolt a little to the right there would be a grey shoulder crack, but that also doesn“t look like F6a. So we followed the ledge to the left for approximately 8m, and then you see a crack / corner system which has the promised F6a climbing with even some pitons available. The next pitch is obvious to find, but harder then I thought. The crux is an unpleasant crack with one shacky piton. The last pitch is easy and less steep, just follow the corner system. We reached the top at 16:15, so it took us a little bit more than 10 hours to climb the french pillar.
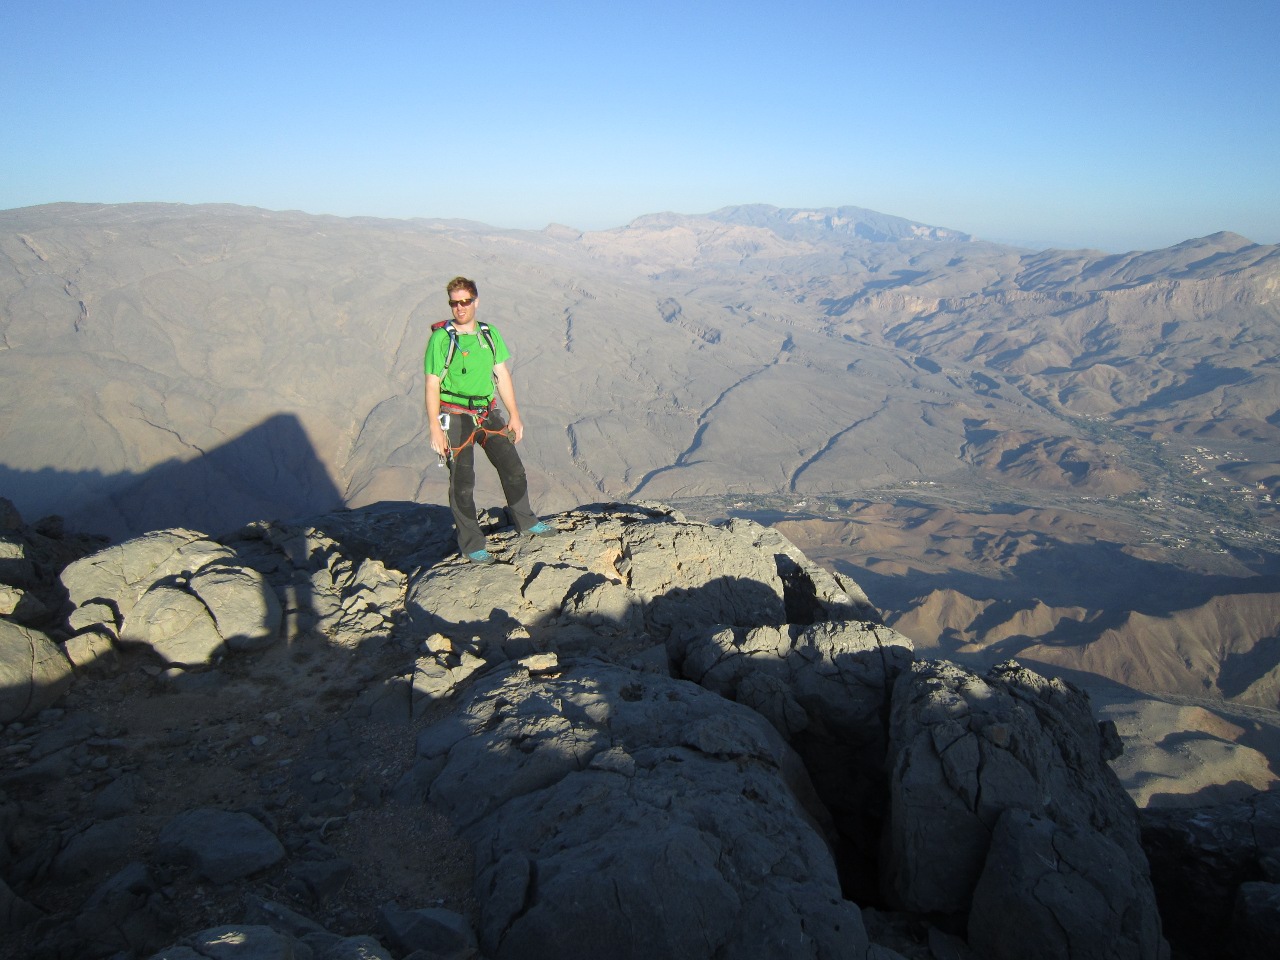 On top with the shadow of Jebel Misht |
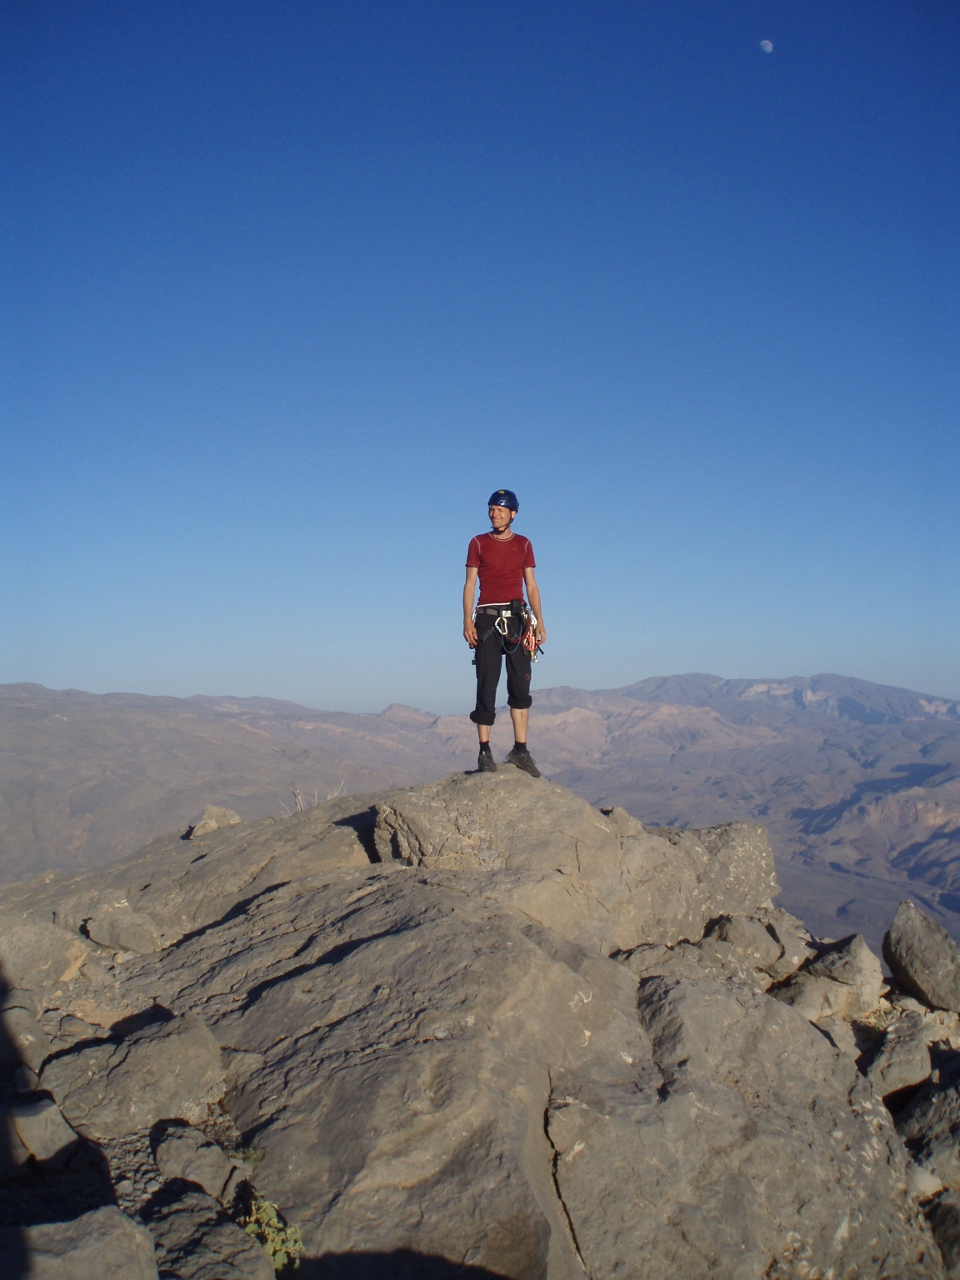 On top of Jebel Misht |
It took us a little more than 2 hours to descent. Luckily our girls agreed to pick us up there, although they had to drive some kilometers offroad. They welcomed us a little bit hungry, because our only liquid fuel stove decided to malfunction. But after 10 minutes of cleaning the stove, everyone was happy.
Gear and Tactics
• 70 meter single rope
• 10 quickdraws
• 14 Cams, C3: 2x0; 2x1; 2x2; C4: 0,4; 2x0,5; 2x0,75; 1; 2; link cam #2
• 4,5 liters to drink was not too much
We climbed the first 3 pitches with climbing shoes, switched to aproach shoes, and swiched back to climbing shoes in front of pitch 8.
I“ve tried to draw a topo, maybe it helps. Make sure that you read the climbing guide by Toby Foord-Kelcey, it“s really good.
 Topo Jebel Misht French Pillar |
Links
1. Climbing guide by Toby Foord-Kelcey
2. Picture of Jebel Misht with the route at climbing.com
3. Trip report to Oman and Jebel Misht